
The Spectrum of Cleanliness from Sanitization to Sterilization
High level disinfection represents one of the most critical processes in healthcare infection control, serving as the bridge between routine cleaning and complete sterilization. Understanding where it fits in the spectrum of cleanliness can mean the difference between preventing healthcare-associated infections and putting patients at risk.
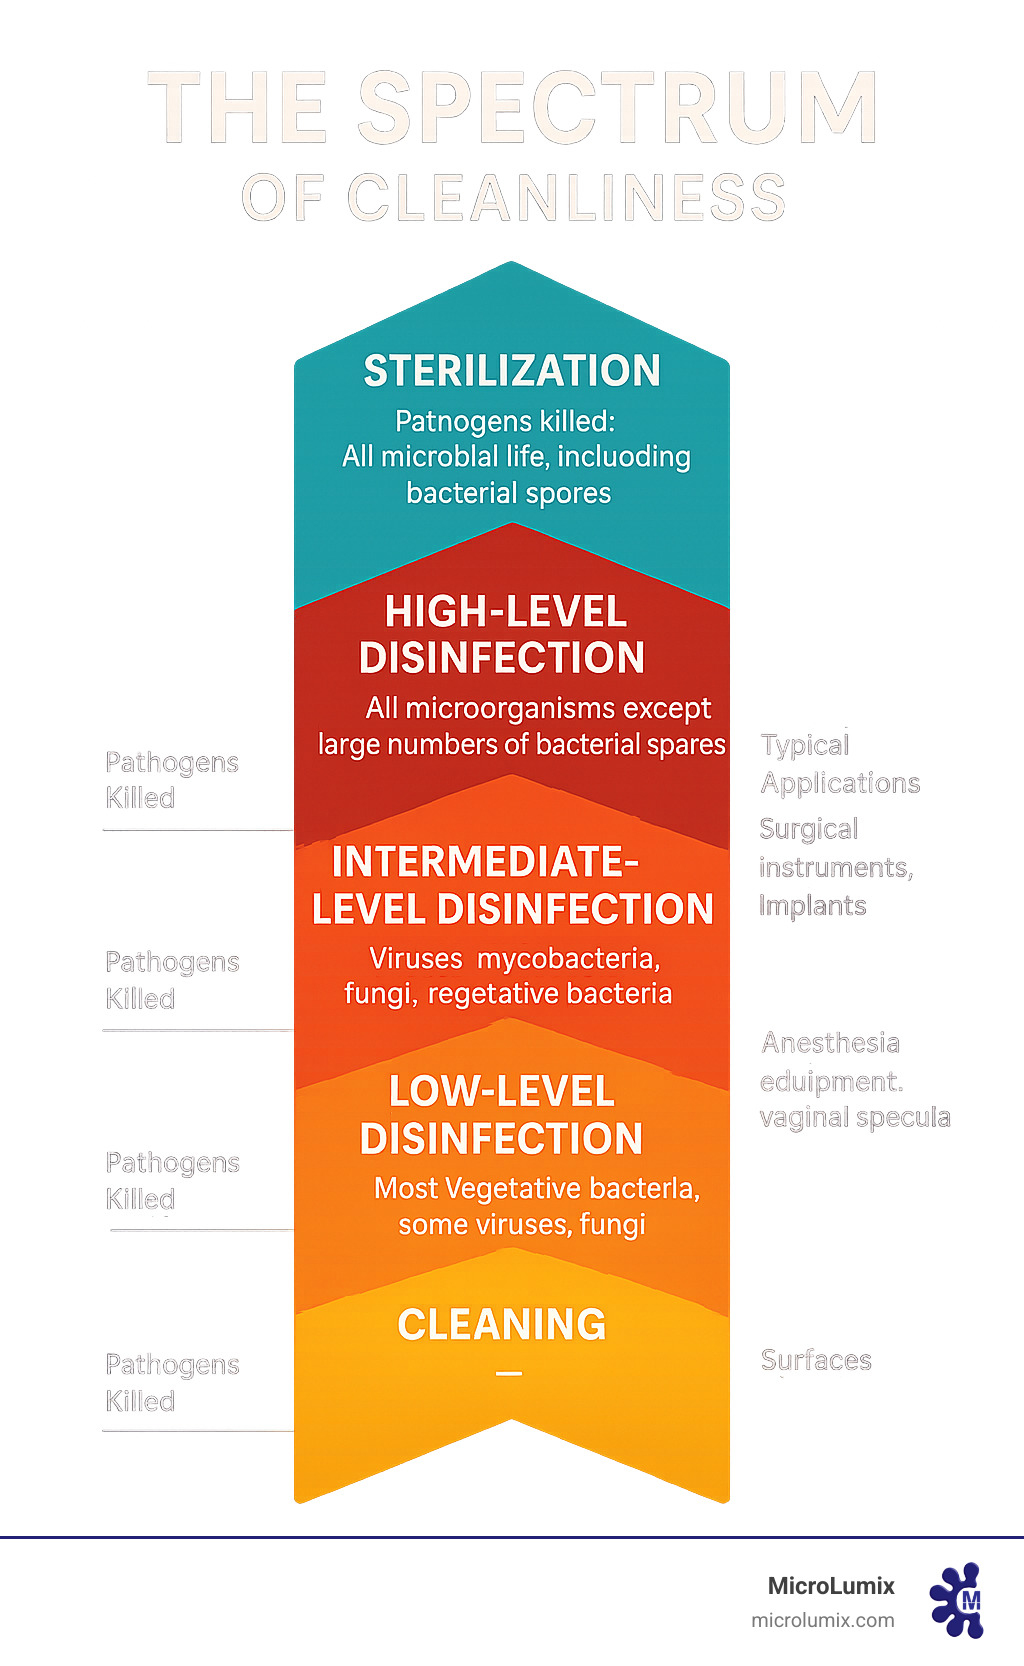
Here’s how the different levels of disinfection compare:
- Cleaning: Removes visible dirt and debris but doesn’t kill pathogens
- Low-level disinfection: Kills most vegetative bacteria, some viruses, and fungi
- Intermediate-level disinfection: Kills viruses, mycobacteria, fungi, and vegetative bacteria
- High-level disinfection: Kills all microorganisms except large numbers of bacterial spores
- Sterilization: Destroys all forms of microbial life, including bacterial spores
More than 30 years ago, Dr. Earle H. Spaulding developed what remains today’s foundation for infection control: “a rational approach to disinfection and sterilization of patient-care items and equipment.” His classification system helps healthcare workers determine exactly which level of disinfection each medical device requires based on its contact with patients.
The stakes couldn’t be higher. With healthcare-associated infections affecting 1.7 million patients annually in the US and contributing to 99,000 deaths, proper disinfection protocols save lives every single day.
High level disinfection fills a unique role – it’s the minimum acceptable standard for semicritical medical devices that contact mucous membranes or non-intact skin but don’t penetrate sterile tissue. Think endoscopes, respiratory equipment, and ultrasound probes. When sterilization isn’t feasible for these heat-sensitive devices, HLD becomes the gold standard.
As Debra Vanderhoff, Founder and COO of MicroLumix Bioscience Technology, I’ve spent over 20 years developing automated disinfection solutions that ensure high level disinfection protocols are followed consistently and safely. My experience has shown me that understanding these fundamental principles is essential for any healthcare facility committed to patient safety.
The Spaulding Classification: Matching the Disinfection Level to the Risk
Back in the 1960s, Dr. Earle H. Spaulding had a brilliant idea that would revolutionize healthcare infection control. He realized that not all medical devices pose the same risk to patients – so why treat them all the same way? His classification system became the foundation for modern infection prevention protocols, helping healthcare workers make smart decisions about which level of disinfection each device truly needs.
The beauty of Spaulding’s approach lies in its simplicity: risk assessment drives the reprocessing decision. The more intimate contact a device has with a patient’s body, the higher the level of disinfection required. It’s logical, practical, and has saved countless lives over the decades.
This rational framework remains so relevant that the CDC continues to endorse it today. You can explore the full details in their comprehensive guide: A Rational Approach to Disinfection and Sterilization from the CDC.
While modern medical devices have become increasingly complex – sometimes challenging the boundaries of Spaulding’s original categories – the fundamental principles remain our guiding star for infection prevention.
Critical Devices
Think of critical devices as the VIPs of the medical world – they get the royal treatment because they absolutely have to. These devices enter sterile tissue or penetrate the vascular system, creating a direct highway for pathogens to cause serious infections.
When a surgical instrument cuts through tissue or a cardiac catheter travels through blood vessels, there’s zero tolerance for contamination. Even the tiniest microbe hitchhiking on these devices could spell disaster for patients.
Sterilization is required – no exceptions, no shortcuts. Whether it’s surgical instruments fresh from the autoclave, sterile implants straight from the manufacturer, or cardiac catheters processed with ethylene oxide, these devices must achieve complete sterility before they ever touch a patient.
Semicritical Devices: The Focus of High-Level Disinfection
Here’s where high-level disinfection truly shines. Semicritical devices live in that middle ground – they contact mucous membranes or non-intact skin but don’t penetrate sterile tissue. While they’re not quite as risky as critical devices, they still demand serious respect.
HLD serves as the minimum requirement for these devices, though sterilization is preferred when possible. The challenge? Many semicritical devices are heat-sensitive, making traditional steam sterilization impossible. That’s exactly why high-level disinfection was developed – to provide a reliable alternative that kills virtually all pathogens except large numbers of bacterial spores.
Endoscopes represent the perfect example. These flexible, intricate instruments with their narrow channels and delicate optics can’t survive the high heat of sterilization. Yet they venture into some of the body’s most vulnerable areas. Respiratory equipment and anesthesia equipment face similar challenges – essential for patient care but too delicate for steam sterilization.
Ultrasound probes add another layer of complexity. Depending on their use, they might contact sterile body cavities (requiring sterilization) or external mucous membranes (where high-level disinfection becomes acceptable). It’s this nuanced decision-making that makes Spaulding’s classification so valuable.
Noncritical Devices
Noncritical devices get the most relaxed treatment – and for good reason. These items only contact intact skin, which acts like a natural fortress against most microorganisms. Since intact skin provides excellent protection, the sterility requirements drop significantly.
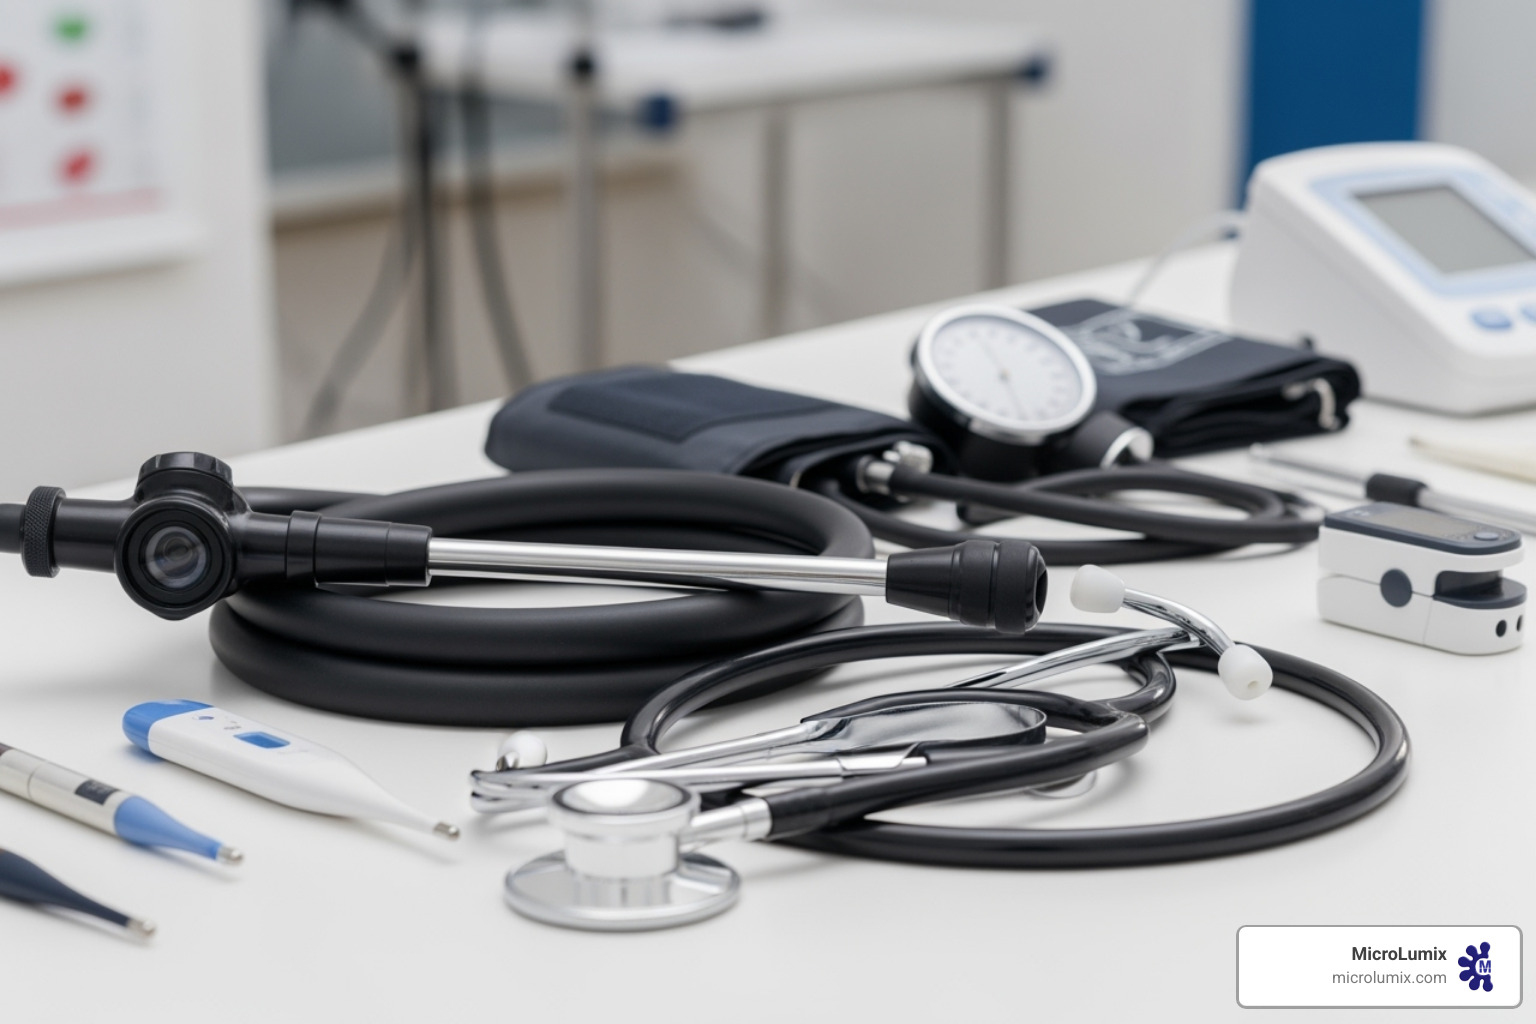
Low-level disinfection handles these devices perfectly. Stethoscopes moving from patient to patient, blood pressure cuffs wrapping around arms, and bed rails supporting patients throughout their stay all fall into this category. Even computers and tablets used at the bedside need only this basic level of cleaning between uses.
The practical beauty of this classification? Most noncritical items can be cleaned right where they’re used, eliminating the need for complex transport to central processing areas. It’s efficient, cost-effective, and perfectly adequate for the level of risk these devices present.
The Complete Guide to the High-Level Disinfection Process
Let’s be honest – high level disinfection isn’t just about dunking a device in some chemical solution and calling it a day. It’s a carefully orchestrated process that starts with one absolutely non-negotiable step: thorough cleaning.
Here’s something that might surprise you: cleaning alone can knock out 4-6 log10 of microbial contamination. That’s huge! But here’s the catch – if you skip this step or do it halfway, everything that follows becomes pointless. Think of bioburden (that’s the fancy term for blood, tissue, and other organic debris) as a protective shield for germs. No matter how powerful your disinfectant is, it can’t penetrate through that barrier.
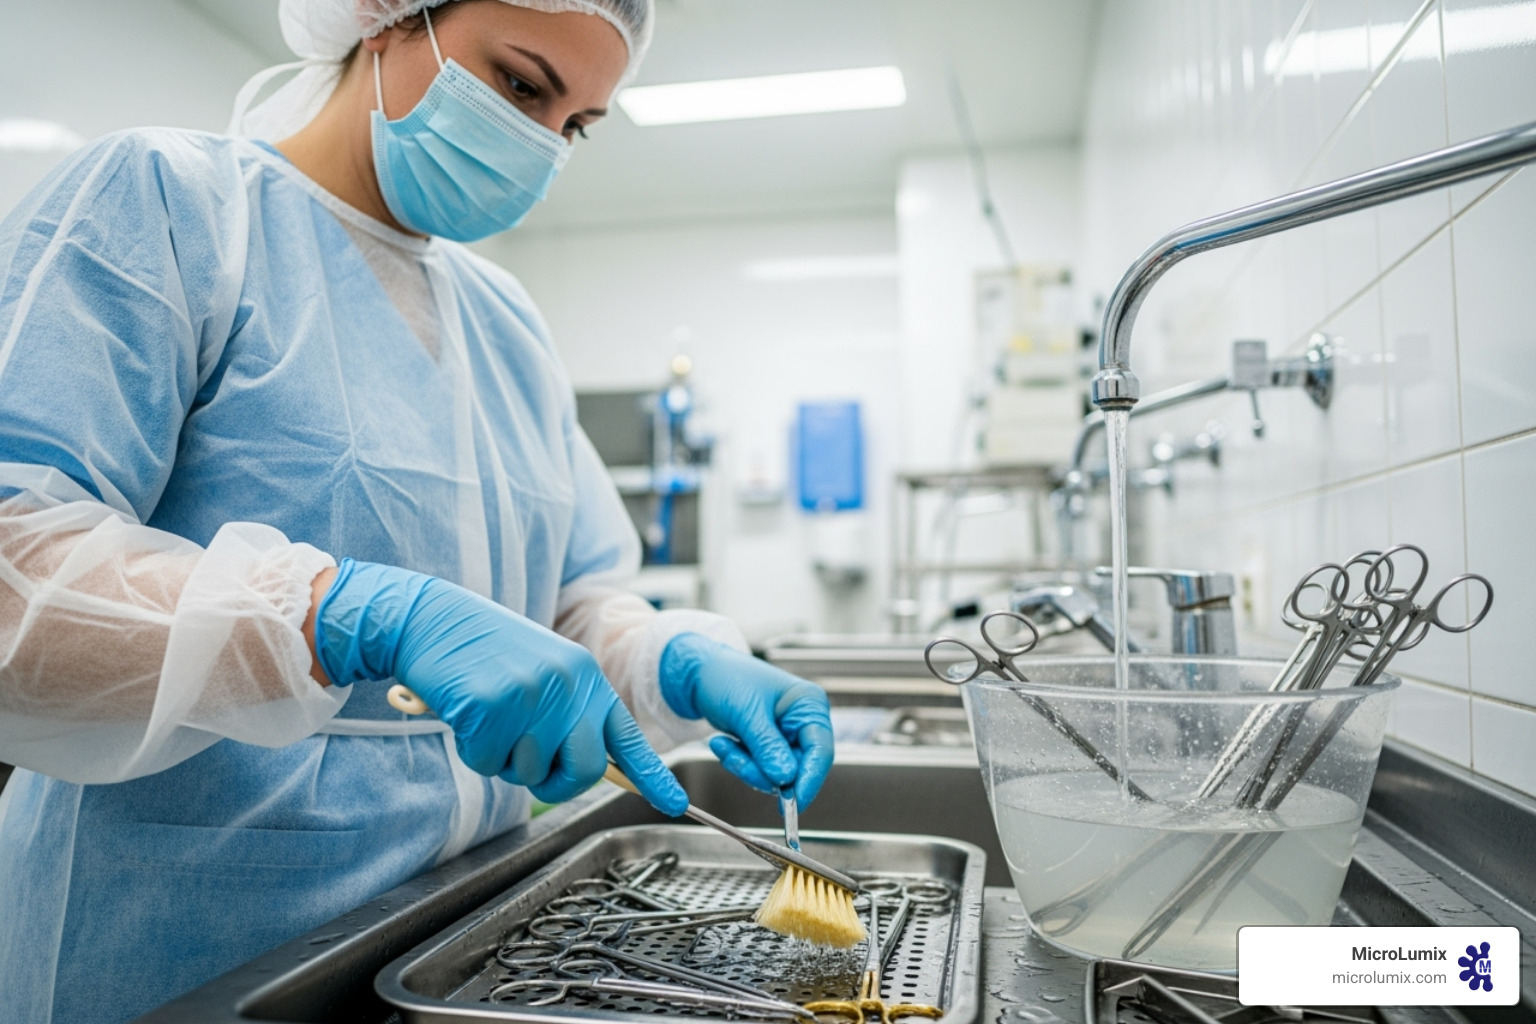
The manual high level disinfection process follows a logical sequence that builds on each step. Pre-cleaning happens immediately after use – and we mean immediately. You’ll need water, detergent, or enzymatic cleaners to remove every trace of visible organic residue. For complex devices with lumens or detachable parts, this means taking things apart so you can reach every nook and cranny. Every channel gets flushed and brushed carefully.
Next comes rinsing to wash away cleaning agents and loose debris. This isn’t optional – leftover cleaning products can interfere with your disinfectant’s effectiveness. Make sure to remove excess water before moving to the next step, since you don’t want to dilute your high level disinfection solution.
The disinfection step is where the magic happens. Your cleaned device gets completely immersed in the chosen disinfectant for the manufacturer’s specified contact time. After that, you’ll do another round of rinsing to remove any residual disinfectant, followed by thorough drying using forced air or lint-free cloths. Finally, proper storage in a clean, dry environment prevents all your hard work from going to waste.
Throughout this entire dance, there’s one golden rule: always follow the manufacturer’s Instructions for Use (IFU) for both the medical device and the disinfectant. No shortcuts, no “we’ve always done it this way” – the IFU is your roadmap to success.
Common Chemical Agents and Their Properties
Choosing the right high level disinfectant is like picking the right tool for the job – it depends on your specific device, what it’s made of, and how much time you have. Each chemical agent brings its own personality to the table, with unique strengths and quirks you need to understand.
Glutaraldehyde has been the workhorse of high level disinfection for decades. It typically requires 20-45 minutes of contact time at room temperature, but it’s remarkably gentle on most medical devices. The downside? It can cause respiratory and skin irritation, requires excellent ventilation, and has a limited use-life once activated.
Ortho-phthalaldehyde (OPA) is glutaraldehyde’s more efficient cousin, working faster with just 12 minutes of contact time at room temperature. It doesn’t require activation and has better material compatibility. However, it stains skin and clothing gray, can cause allergic reactions in some people, and costs more than glutaraldehyde.
Hydrogen peroxide solutions offer excellent material compatibility and are environmentally friendly, breaking down into water and oxygen. Contact times vary from 8-30 minutes depending on concentration and temperature. The main challenges are potential corrosion of some metals and the need for proper storage to maintain stability.
Peracetic acid is the speed demon of the group, often working in just 5-15 minutes even at room temperature. It’s sporicidal and environmentally friendly, but it can be corrosive to metals and has a strong, pungent odor that requires good ventilation.
Quality Control for Effective High-Level Disinfection
Quality control isn’t just paperwork – it’s your insurance policy against treatment failures. The Minimum Effective Concentration (MEC) is the lowest concentration of disinfectant that still delivers the promised microbial kill. Think of it as the point where your disinfectant stops being effective and starts being expensive water.
Chemical test strips are your best friends here. These simple tools give you instant feedback on whether your solution is still potent enough to do its job. Most facilities test daily, though some high-volume areas might test before each use. The key is consistency – make it part of your routine, and document everything in your quality control logs.
The FDA-Cleared HLDs list is your go-to resource for approved disinfectants. This isn’t the place to experiment with off-brand solutions – stick with what’s been proven to work.
Post-HLD Handling and Storage
The work doesn’t end when the contact time is up. Thorough rinsing with sterile water removes residual chemicals that could irritate patients or damage equipment over time. This step is especially critical for devices that will contact mucous membranes.
Drying requires attention to detail. Forced air systems work well for devices with lumens, while lint-free cloths handle external surfaces without leaving fibers behind. Proper moisture removal prevents bacterial growth and maintains the integrity of your disinfection process.
Storage is where many facilities stumble at the finish line. Your beautifully disinfected device needs protection from recontamination. Clean, dry storage areas with good air circulation keep devices ready for use while preventing the growth of waterborne pathogens that could undo all your careful work.